Taking Your First Steps in Urban Astrophotography

Taking Your First Steps in Urban Astrophotography

Overview

So, you want to get started in photographing the night sky from a town or city, but aren’t sure where to start? Well, the good news is that it’s definitely possible! I photograph nebulae, star clusters, and galaxies from my back garden in central Bristol, under heavily light-polluted Bortle 8 skies. I’ve been doing this for a long time, and thought it might be useful to write this short guide to give some tips to anyone beginning their own urban astrophotography journey.

Choose a starting point that suits your equipment, budget, and curiosity. These are different routes into the hobby, and you can enjoy any of them for years. Use what you already own where possible, and remember the most important thing: keep having fun.

You don’t have to work it all out on your own. Stargazers Lounge is a useful place to ask questions, share your first attempts, and learn from other astrophotographers. Its Getting Started With Imaging section is a good place to begin. And of course there’s lots of content on this site!

Wondering how an evening collecting light becomes a finished deep-sky image? My How do you take those photos? article walks through the process.

Choose your starting point

  • Use a camera and tripod if you already own a camera and want to learn exposure, focus, and framing while photographing star fields and landscapes.
  • Try a smart telescope if you want a compact, automated way to start photographing galaxies and nebulae.
  • Build a widefield telescope setup if choosing and controlling the equipment is part of the appeal. Allow a budget for the whole setup, including the mount and camera.

A telescope with a long focal length, say 800mm or more, is “advanced level”, so I’ll only mention it toward the end of this guide. Also note that planetary imaging isn’t really my specialty, so I won’t be delving into that.

Start with a camera and tripod

Already have a DSLR or mirrorless camera? Add a decent tripod and a wide-angle lens, and you've got enough to begin. A basic kit zoom at its widest setting is fine. Your first goal is simple: take a photograph of the stars, look at it, and work out how to improve the next one.

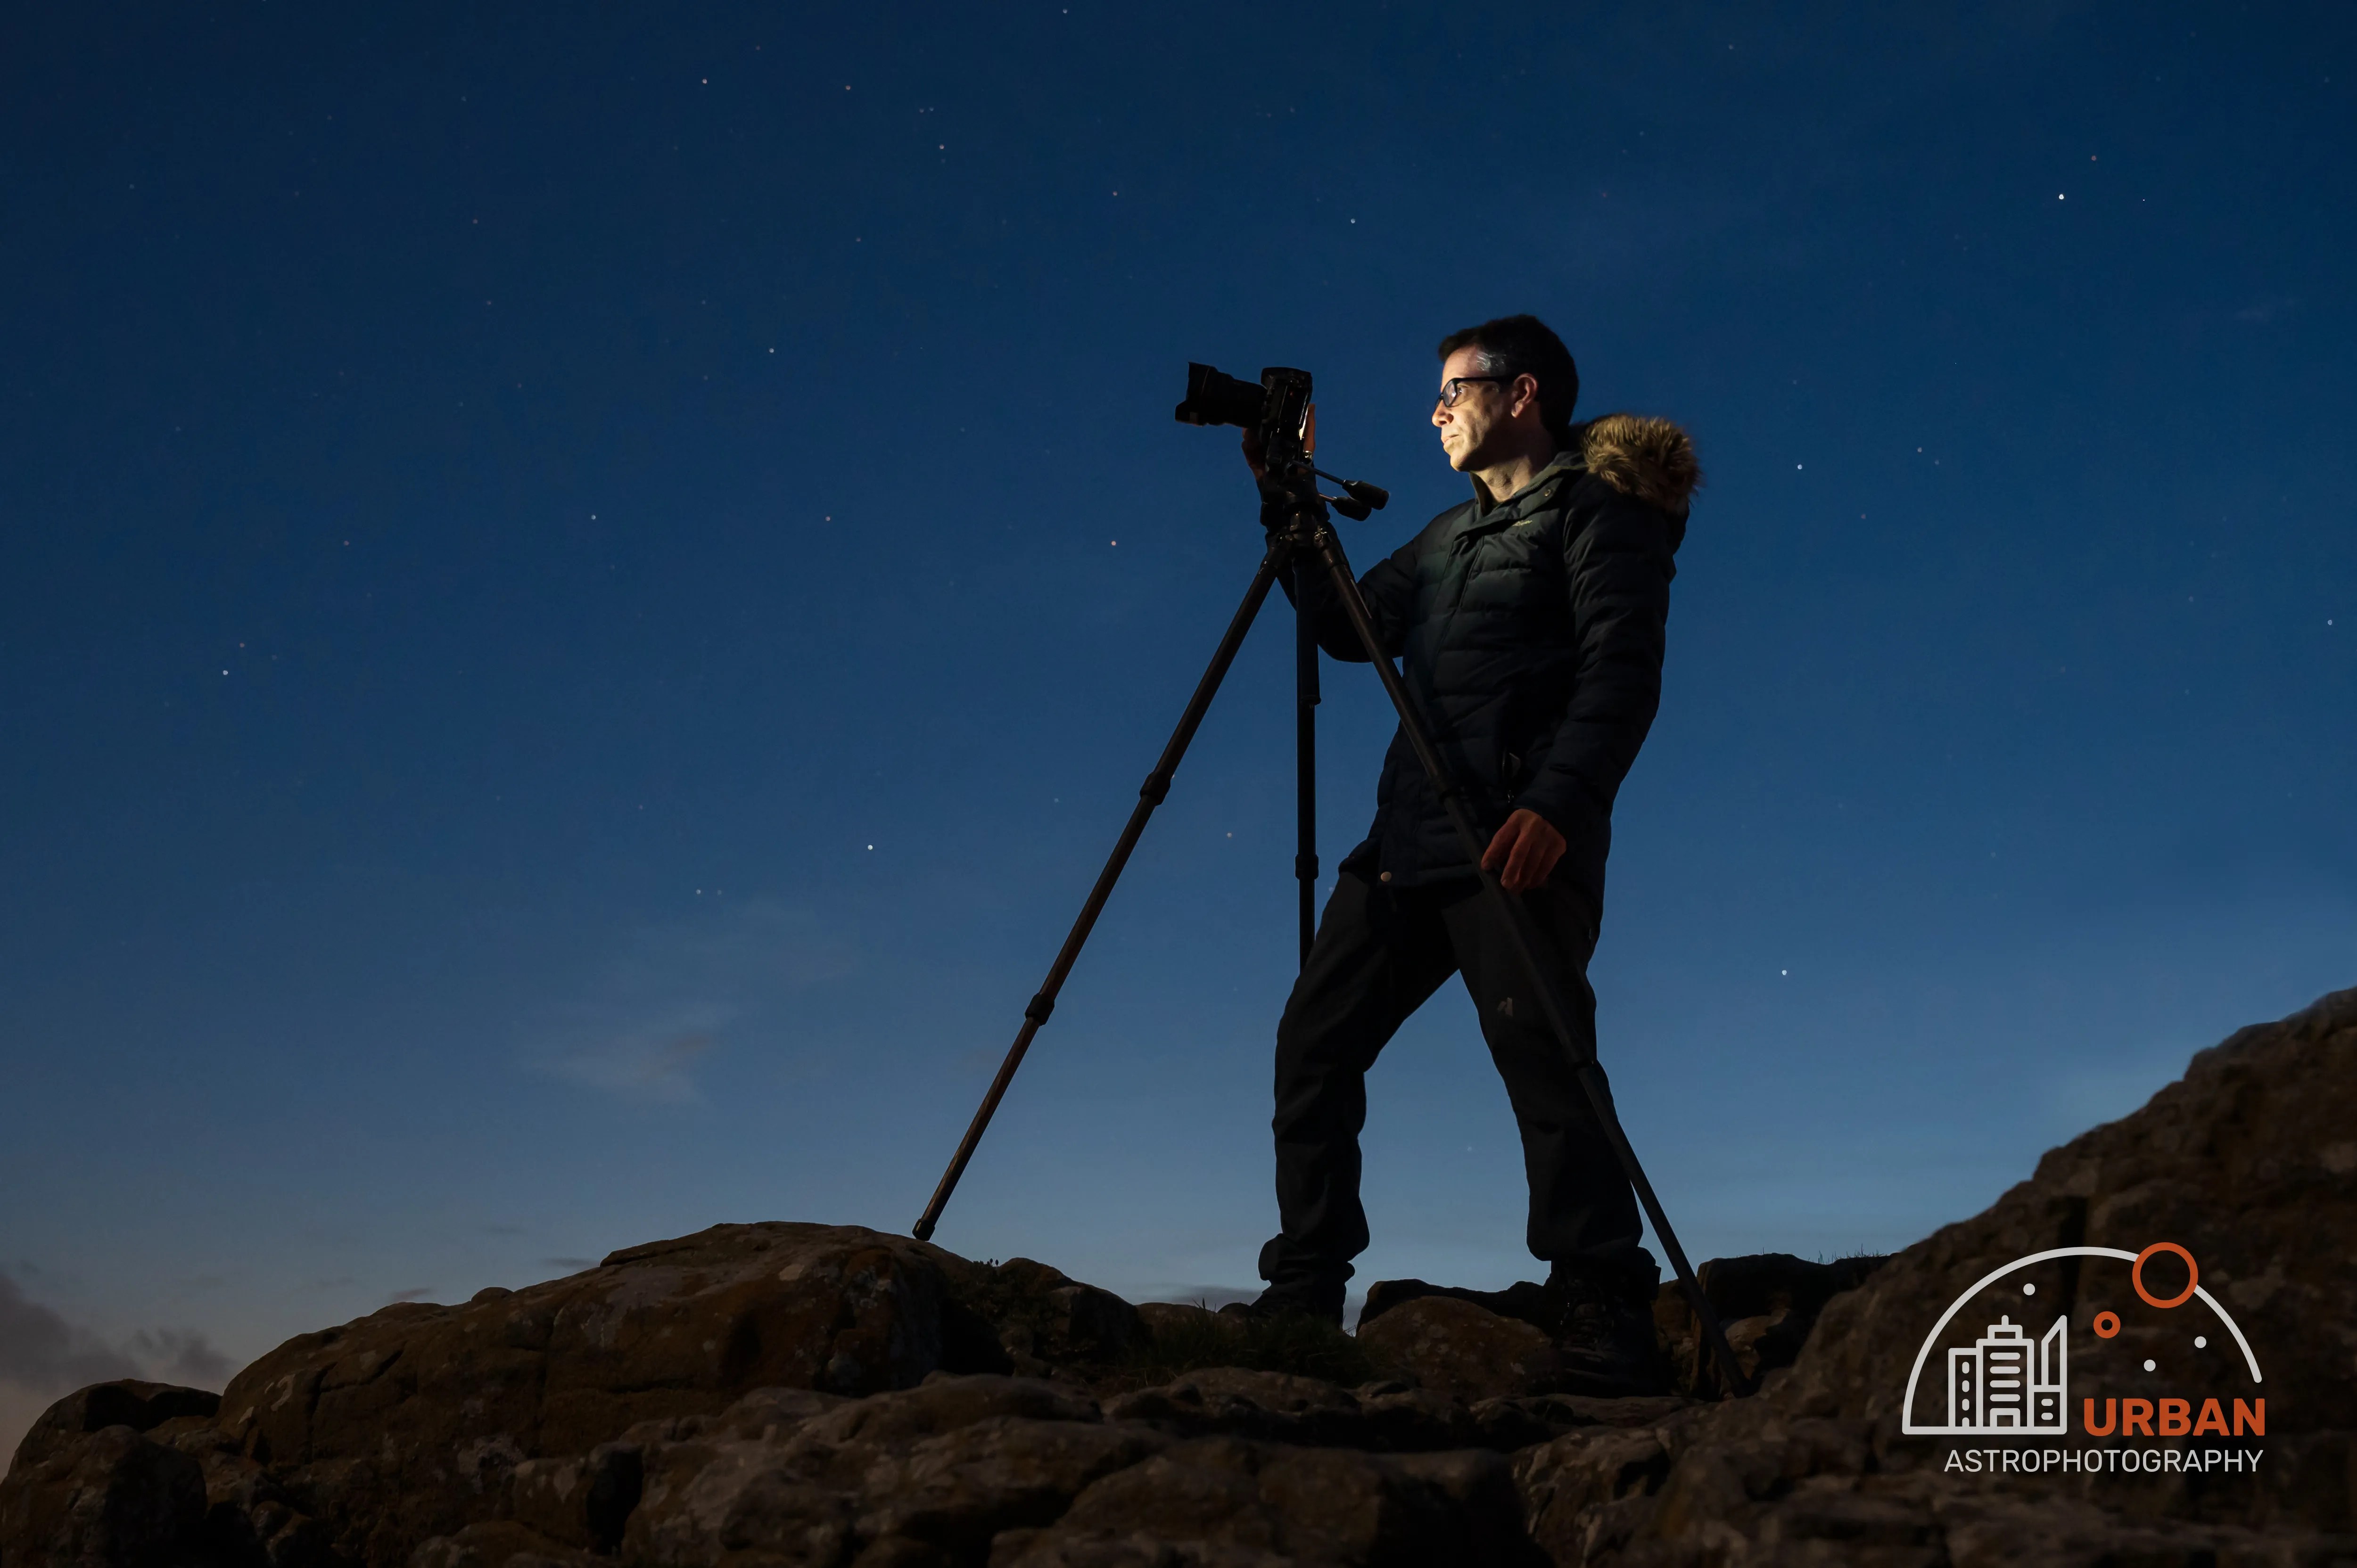
Camera mounted on a tripod beneath a starry sky
Start with the camera you already own and a stable tripod.

Your first photograph of the stars

Before your first night out, charge the battery and check that there's space on the memory card. Practise changing the exposure settings and using manual focus indoors, while you can see what you're doing. Choose a spot with a clear view of the sky, away from direct streetlights or security lights.

  1. Find a clear patch of sky. Choose a clear night, ideally with little moonlight, and keep streetlights out of the frame. A familiar constellation above a rooftop makes a good first subject.
  2. Set up the camera. Secure it on the tripod, select manual exposure mode, and shoot RAW if you plan on tweaking the photos using editing software later. (I’m a big fan of Lightroom!) Use the self-timer or a remote release to avoid wobbling the camera.
  3. Try a starting exposure. With a wide-angle lens, try 5 seconds, ISO 1600, and the widest aperture your lens allows, such as f/2.8 or f/3.5. These are starting points, not magic settings.
  4. Focus on a bright star. Switch to manual focus, magnify the live view, and adjust until the star looks as small and sharp as possible. Don't rely on the lens's infinity mark.
  5. Take a picture and inspect it. Zoom in. Round blobs are a sure sign of missed focus. Little streaks suggest the exposure is too long for pin-point stars. A washed-out sky means you should use a shorter exposure or lower ISO. If it’s too dark, try a longer exposure while checking for trails; or crank up the ISO a little.
  6. It’s a game of trial and error. Change one thing and try again. Your goal is a photo that’s well exposed (not too bright or dark); not too noisy (unwanted speckles and grain); and with sharp, point stars.

How does the exposure look?

Compare your first attempts with these examples. Aim to make the stars visible while keeping the sky brightness under control.

Underexposed night sky above rooftops and trees, with few stars visible
This image is too dark to show much of the star field. Increase your exposure time, or increase ISO.
Overexposed night sky with a bright, washed-out background
The sky is too bright, making the stars harder to see. Try a shorter exposure, or a lower ISO.
Stars visible against a grey night sky above rooftops and trees
Better! But the stars don’t look quite right yet, so zoom in for a closer look.

Look closely at the stars

These close-ups show the difference between missed focus, star trailing, a knocked tripod, and a sharp result.

Select any photo to inspect the full-size image.

Close-up showing stars as soft, rounded blobs
The stars are out of focus and look like soft blobs. Magnify a bright star and adjust the focus.
Close-up showing stars stretched into short streaks
The stars have short trails. Shorten the exposure if you want them to appear as points.
Close-up showing irregular star streaks caused by a knocked tripod
A knock to the tripod has left weird streaks. Use the self-timer or a remote release, so you don’t wobble the camera when you take the photo.
Close-up showing small, sharply focused stars
The stars are small and well defined. Inspect your photograph at high magnification to check the focus.

Noise and a successful first result

We don’t want our photos to look too noisy. Try collecting a little more light with a longer exposure, as long as the stars stay sharp and the sky doesn’t become too bright. You can lower the ISO to keep the brightness under control as you lengthen the exposure. Simply lowering ISO without collecting more light won’t necessarily give you a cleaner photo.

Night sky above rooftops and trees covered in coarse coloured noise
A grainy background hides faint detail.
Successful photograph of stars above rooftops and silhouetted trees
Success! We have clear stars against a smooth background, with the sky brightness under control. The photo isn’t award-winning, but it’s a realistic standard to reach for a beginner.

This is a great way to learn exposure, focus, and framing without buying a telescope. You can also deliberately let the stars trail for a different kind of image.

Curving star trails above a dark treeline
Star trails can be the aim of the photograph. Here, the stars trace arcs as Earth turns.

There are limits though. For detailed Milky Way landscapes and faint star fields with a camera and tripod, getting away from city lights makes a huge difference. Practise at home, then take those skills somewhere darker. A small tracking mount can be another optional step if you’d like to keep using camera lenses, but to be honest that’s not a route I’ve ever gone down.

Give the stars a setting

Once you have the basics working, try including a landscape or a recognisable foreground. Here are a few ideas from my own photographs (admittedly from darker sky sites rather than cities).

Illuminated ruins of Tintern Abbey beneath a starry sky
The illuminated ruins of Tintern Abbey.
Stonehenge illuminated beneath stars and wisps of cloud
Stonehenge.
Starry sky above the River Wye winding around wooded hills at Symonds Yat
The winding River Wye at Symonds Yat.

Try a smart telescope

Fancy seeing a galaxy or nebula build up on your phone screen? A smart telescope such as the Seestar S50 combines a telescope, camera, and tracking mount in one compact package. It’s relatively affordable compared with a complete conventional imaging rig, and great fun.

Select a target in the app and it handles the finding, focusing, tracking, and stacking. Stacking means lining up and combining multiple exposures to reveal fainter detail with less random noise. You can get satisfying results from a city, especially by choosing suitable targets and giving each one time. The photos below show some of the possibilities.

The automation makes it easy to get going, but gives you less hands-on control and fewer options to replace individual components. There’s still plenty to learn about choosing targets, and you can choose to process the saved images yourself if you want to learn about that aspect.

Smart telescopes can be a convenient starting point if you don’t already own a camera, or simply prefer spending your time on the targets rather than assembling a rig.

ZWO Seestar S50 set up in a garden
The Seestar S50 combines the telescope, camera, and tracking mount.

Build a widefield telescope setup

For more control and room to grow, I’d start with a small telescope that captures a broad area of sky. Many nebulae are surprisingly large and you don’t necessarily need a big telescope to photograph them.

Why a shorter focal length is easier

Focal length, measured in millimetres, helps determine how much sky you capture. Shorter focal lengths give wider views. A longer focal length makes the target appear larger, but also makes tiny tracking errors more obvious, and increases the difficulty level. Your camera’s sensor size affects the field of view too.

The Svbony SV535 has a focal length of just 105mm, which is extremely wide for astro. It’s compact, comparatively inexpensive, and forgiving of imperfect tracking. I use it for sweeping views such as Central Cygnus.

Svbony SV535 105mm f/2.8 astrograph
The compact Svbony SV535 has a focal length of 105mm, making it well suited to wide views of the night sky.

The Askar FRA400 gives a closer view at 400mm and is another good option. Before buying either telescope, check that your camera and adapters will fit and reach focus. The linked reviews cover those practical details, including autofocus options.

Choose the view before the telescope. Use the astronomy.tools field-of-view calculator in Imaging Mode, with your camera and a telescope focal length, to preview the framing. Test several objects you'd love to photograph. The calculator shows framing, not the detail you'll capture in one exposure.

Choose the rest of the kit carefully

A conventional telescope setup needs more than the telescope itself. Budget for a tracking mount, camera, control system, adapters, and power, with dew control and guiding as needed. My equipment page shows how the pieces fit together.

Give the mount plenty of thought

An equatorial mount follows the sky as Earth turns, allowing longer exposures without star trails. It needs polar alignment, which means lining its rotation axis up with Earth's. A lightweight mount can suit a small widefield rig, but a sturdier one may save you replacing it if you later buy a heavier telescope. Consider the entire loaded setup and its imaging demands, not just the telescope's weight.

Guiding uses a second camera to monitor a star and correct small tracking errors. It becomes more valuable as focal length and exposure length increase. You don't need to buy every accessory at once: my guide to the top 10 astrophotography upgrades explains when additions such as guiding and autofocus become useful.

Think about the routine as well as the equipment. A setup you can carry outside, connect, and put away easily is more likely to get used. My equipment page shows how I make imaging from home practical.

Colour cameras and city filters

For a first dedicated astronomy camera, I’d usually suggest one shot colour, or OSC. You capture colour in every exposure, which keeps acquisition relatively straightforward. A cooled model helps control thermal noise during long sessions, and makes calibration more effective. You can also begin with a compatible DSLR or mirrorless camera you already own, but dedicated astro cams are really where you want to go.

Monochrome cameras use separate filters to build a colour image, adding flexibility and complexity. That's a choice you can explore later; my OSC versus mono comparison covers the trade-offs.

For glowing clouds of gas called emission nebulae, an OSC camera with a suitable dual-band filter is a powerful city combination. The filter passes selected wavelengths from the nebula while rejecting much of the unwanted sky glow. It doesn't remove all light pollution, and it isn't the answer for every target.

Galaxies, star clusters, and reflection nebulae emit or reflect light across a broad range of wavelengths. A narrowband filter throws away much of that useful light. Start with my guide to choosing filters for an OSC camera, and check that any filter suits your telescope's optical setup.

Advanced level: longer focal lengths

Once you’re comfortable with a smaller rig, a telescope such as the Askar 130PHQ opens up closer views of smaller targets. Its 1000mm focal length is useful for galaxies and details within larger nebulae. The comparison below shows the framing of the Elephant’s Trunk Nebula with this telescope and the FRA400.

The Elephant's Trunk Nebula at 400mm, with a box showing the narrower field of view at 1000mm
The outer image shows the FRA400's 400mm view. The box marks the narrower field of view of the 130PHQ at 1000mm.

The extra reach brings extra demands. Tracking, guiding, focus, and stability all become less forgiving, and the telescope itself is much heavier. I love mine, but it wouldn't be my first recommendation for someone starting out.

And a longer telescope doesn't make a widefield one redundant. They take different pictures. My 105mm and 1000mm telescopes complement each other. Detailed planetary imaging is another branch of the hobby, with different equipment and techniques, and isn't my speciality.

Askar 130PHQ telescope and imaging equipment in Lee’s city garden
My Askar 130PHQ ready for action!

Keep collecting light and learning to process it

Whichever route you take, two things make an enormous difference: total exposure time and processing skills. Under bright city skies, both deserve at least as much attention as the next equipment purchase.

With a telescope rig, total integration time is the combined exposure of the images you keep. Sixty one-minute exposures give you one hour. You can return to the same target over several nights, then stack the results. More good data helps faint detail stand out from the noise. You don't need a marathon project to begin, but patience pays off. My guide to getting long integration times explains how I make it practical.

Once you’ve collected the light, processing is how you bring out the detail and colour in the finished photo. There are lots of software packages out there, and everyone has their favourites. I like PixInsight; my review explains why. If you’d like to see how I process my images, have a look at my Urban Astro YouTube channel, where I work through real examples.

For your next clear night, pick one achievable goal. Photograph a constellation, spend an evening on one smart-telescope target, or practise focusing your new rig. Then explore the Targets gallery for ideas, using the telescope filters to see what suits your setup. I’ve even made a curated list of beginner-friendly targets. There’s plenty to discover above the streetlights. Good luck, and clear skies!


Discover more from Urban Astrophotography

Subscribe to get the latest posts sent to your email.

Leave a Reply

Your email address will not be published. Required fields are marked *